- Mythlore Costume – The last post. For now.
- Mythlore Costume – Finished!
- Mythlore Costume – Fixing a belt
- Mythlore Costume – Kimono Fail
- Mythlore Costume – Still to go
- Mythlore Costume – Base Layer Robes – Part II
- Mythlore Costume – Base Layer Robes
- Mythlore Costume – Battle Skirt
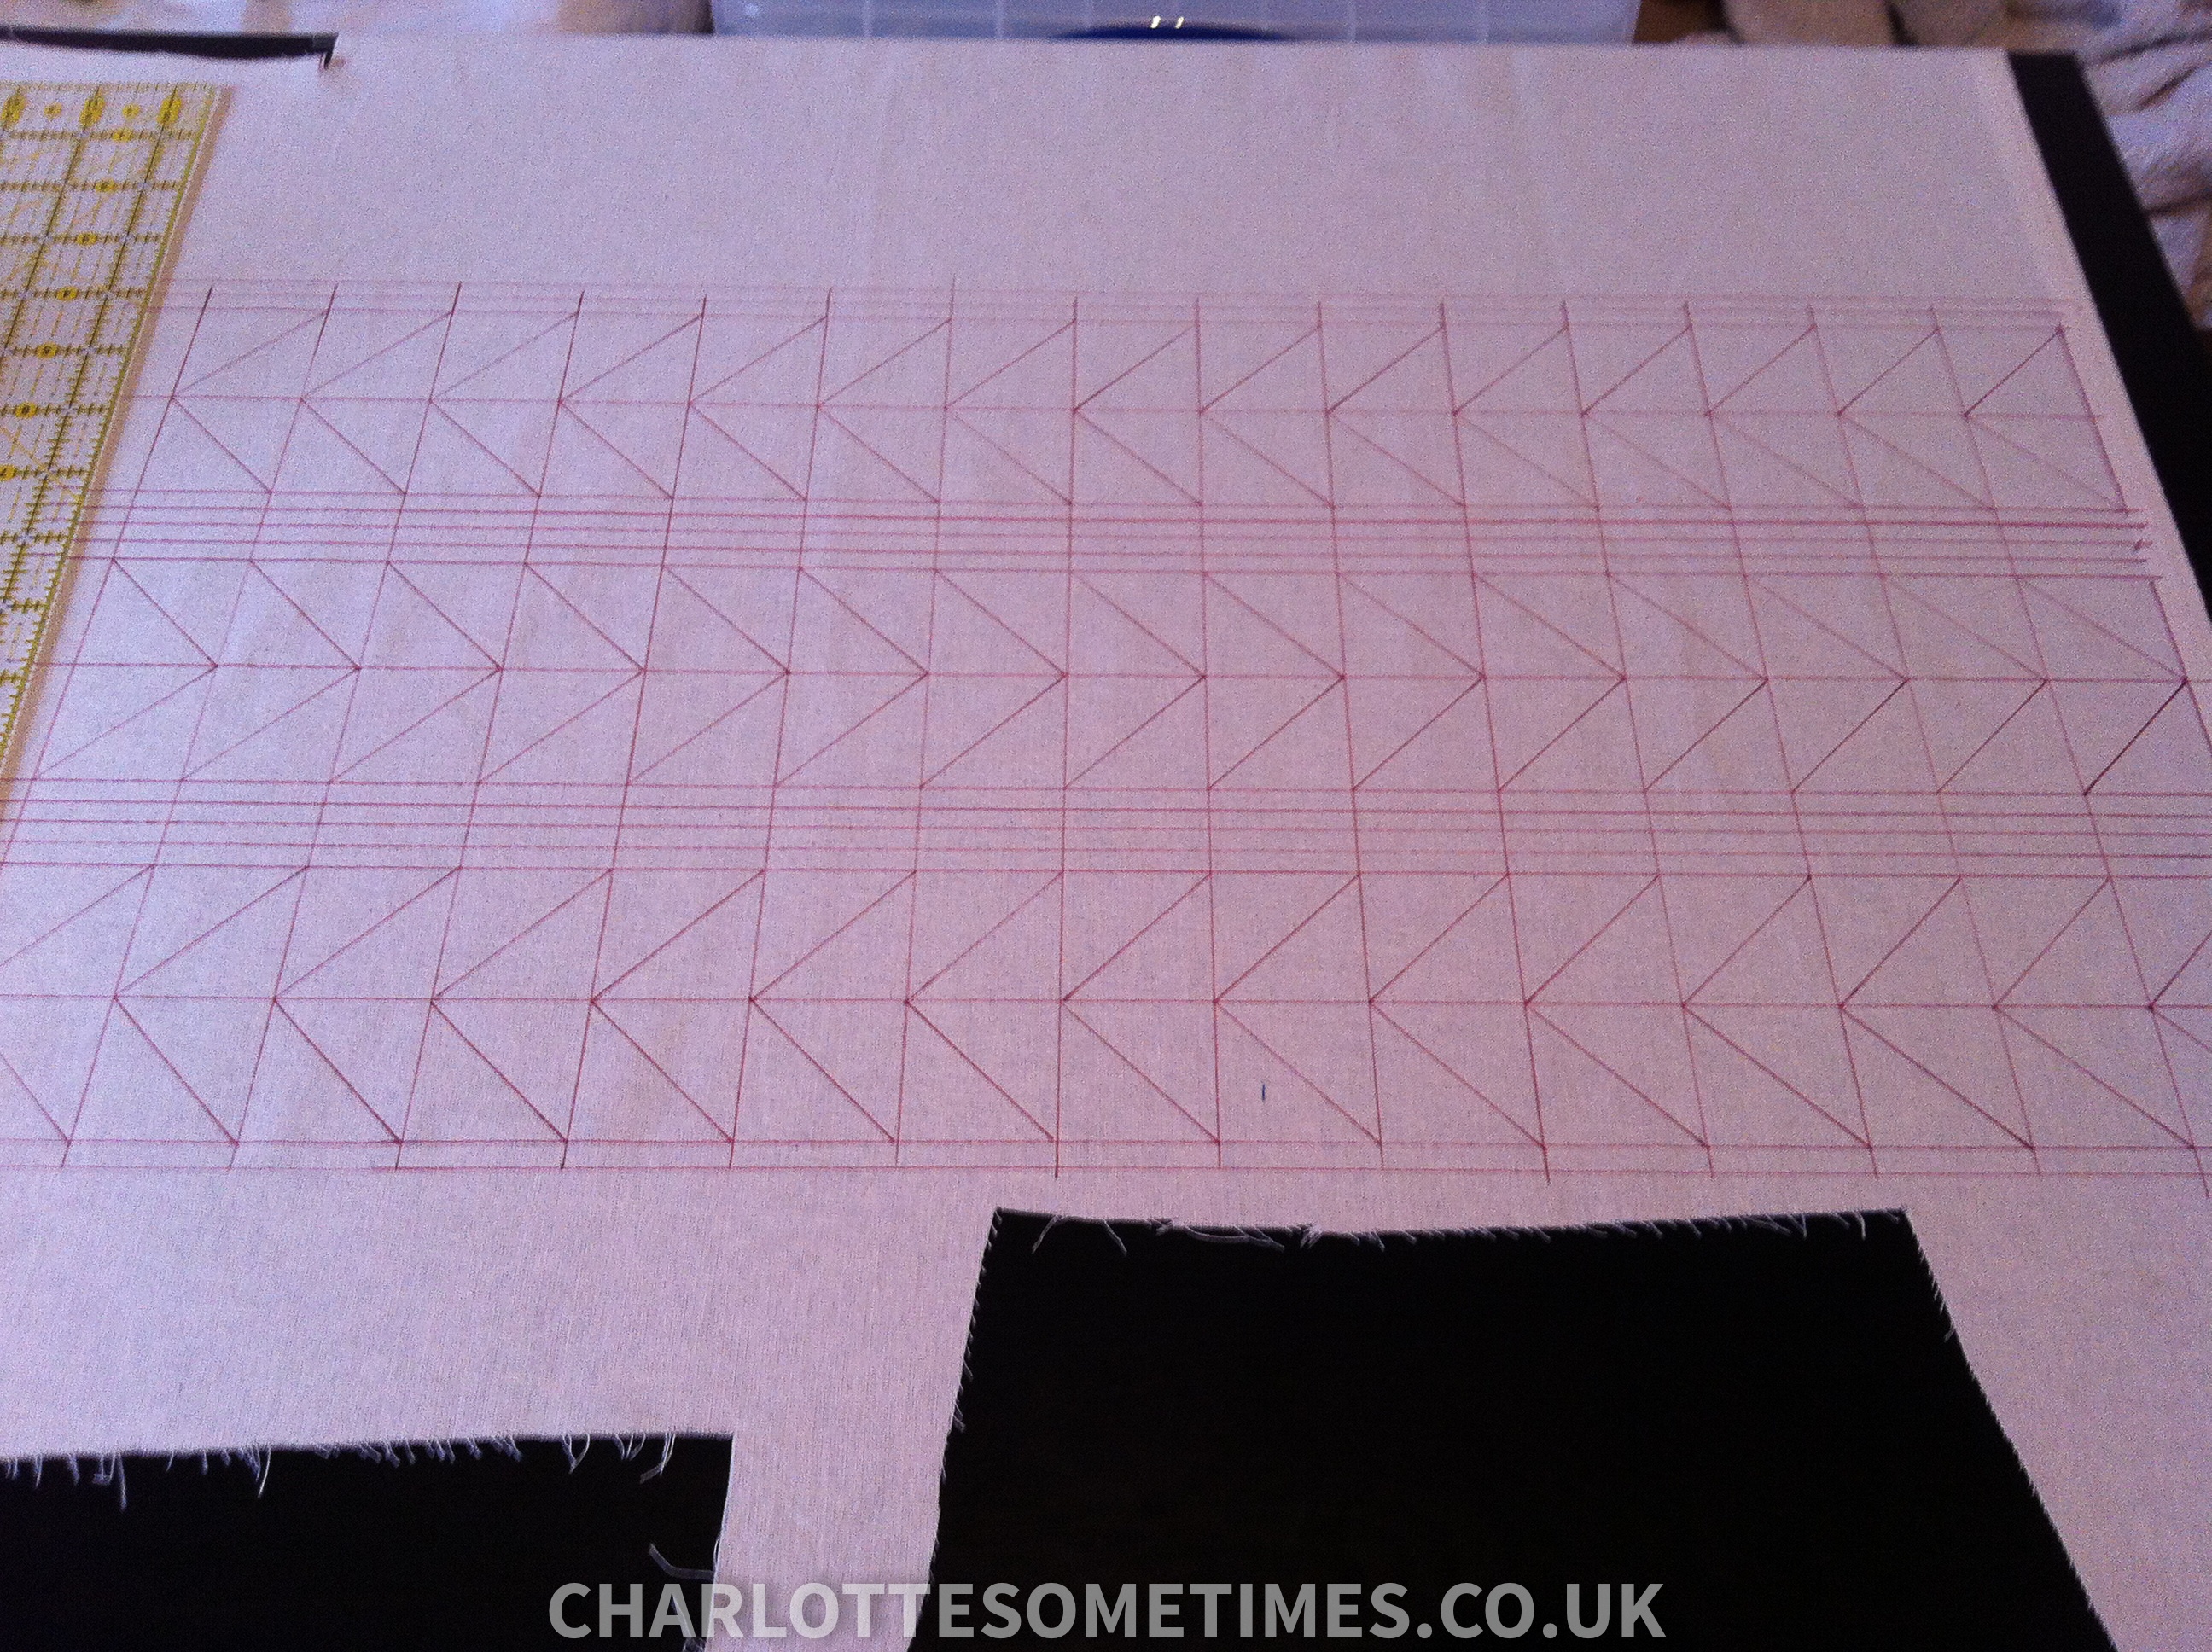
- Mythlore Costume – Texturing the robes
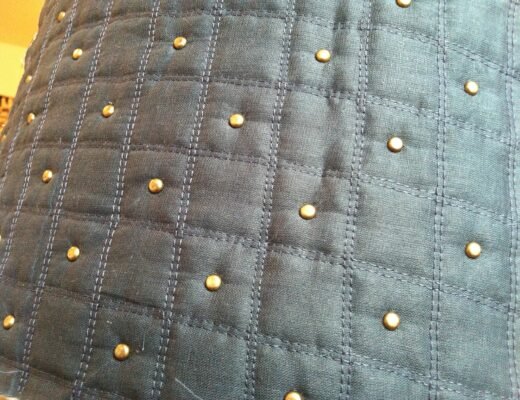
- Mythlore Costume – Using Blue in LRP costumes
- Mythlore Costume – Armour
- Mythlore Costume – Outer Cloak
- Mythlore Costume – First Ideas
- Mythlore Costume – Diablo 3
- Mythlore Costume – First Thoughts
- Dorne Armour Inspiration II
I’m taking a break here half way through the set of base layer robes, because I want to revel in the neat and tidy seams – you’ll see later. 😉
But here’s the process so far. I decided to dye my own fabric for various reasons. Mostly that I’m not going to get up to Coventry to go shopping any time soon, but also because the muslin I liked was very narrow and I wanted to be lazy with my cutting and seaming in order to make it nice and neat inside.
So above you can see the white Ikea Ditte cotton fabric in the dye bath. I had to go on eBay to find the colour that I want, since Dylon have reduced their range considerably. Old Gold is the name of the colour, and I have another ten pots of it since I managed to find someone selling off old boxes of shop stock. When I say old… these aren’t even in the plastic pots that I remember as a kid. They’re in little metal pots that try their best to cut your fingers off. Anyway.
I decided to cold water dye it. Well, warm water dye. Partially because my shower is the safest place in the house to do these things – I didn’t really want dye in my little kitchen, I don’t have an outdoors area, and I didn’t particularly want to use my washing machine to dye. But also because if you’re “careful” you can get a streaky, mottled effect. OH GOD IT’S WONDERFUL. This fabric looks like it’s come right out of the end of the dye bath – perfect for someone cursed who can’t afford better. The only annoyance is that where the fabric is damaged from being stored on the fold line, it’s taken up more dye at that point. Nothing I can really do about that except buy wholesale on unfolded bolts – but that’s not going to happen. It doesn’t bother me too much.
So here’s the fabric as it was drying.
The robes are basically the same pattern as my own Odyssey robes, but modified to be bigger (because Simon is bigger than me – however only really in height terms, not in chest or hip terms) but also to have a Kimonoish style front. If you recall, this was the look we’re going for:

So I got to cutting the pattern out. I didn’t photograph the front, but I had to cut it in two pieces. The main body/arm and the gore. If I had more fabric I wouldn’t have done that, but I had to in order to squeeze it on. No problem.
Here’s the back piece, to be cut on the fold. The sleeves are short. I quite like them short. I think we’re going to add a piece to make them longer, maybe in blue. Mostly I just wanted to be able to curve the poxy underarm seam.
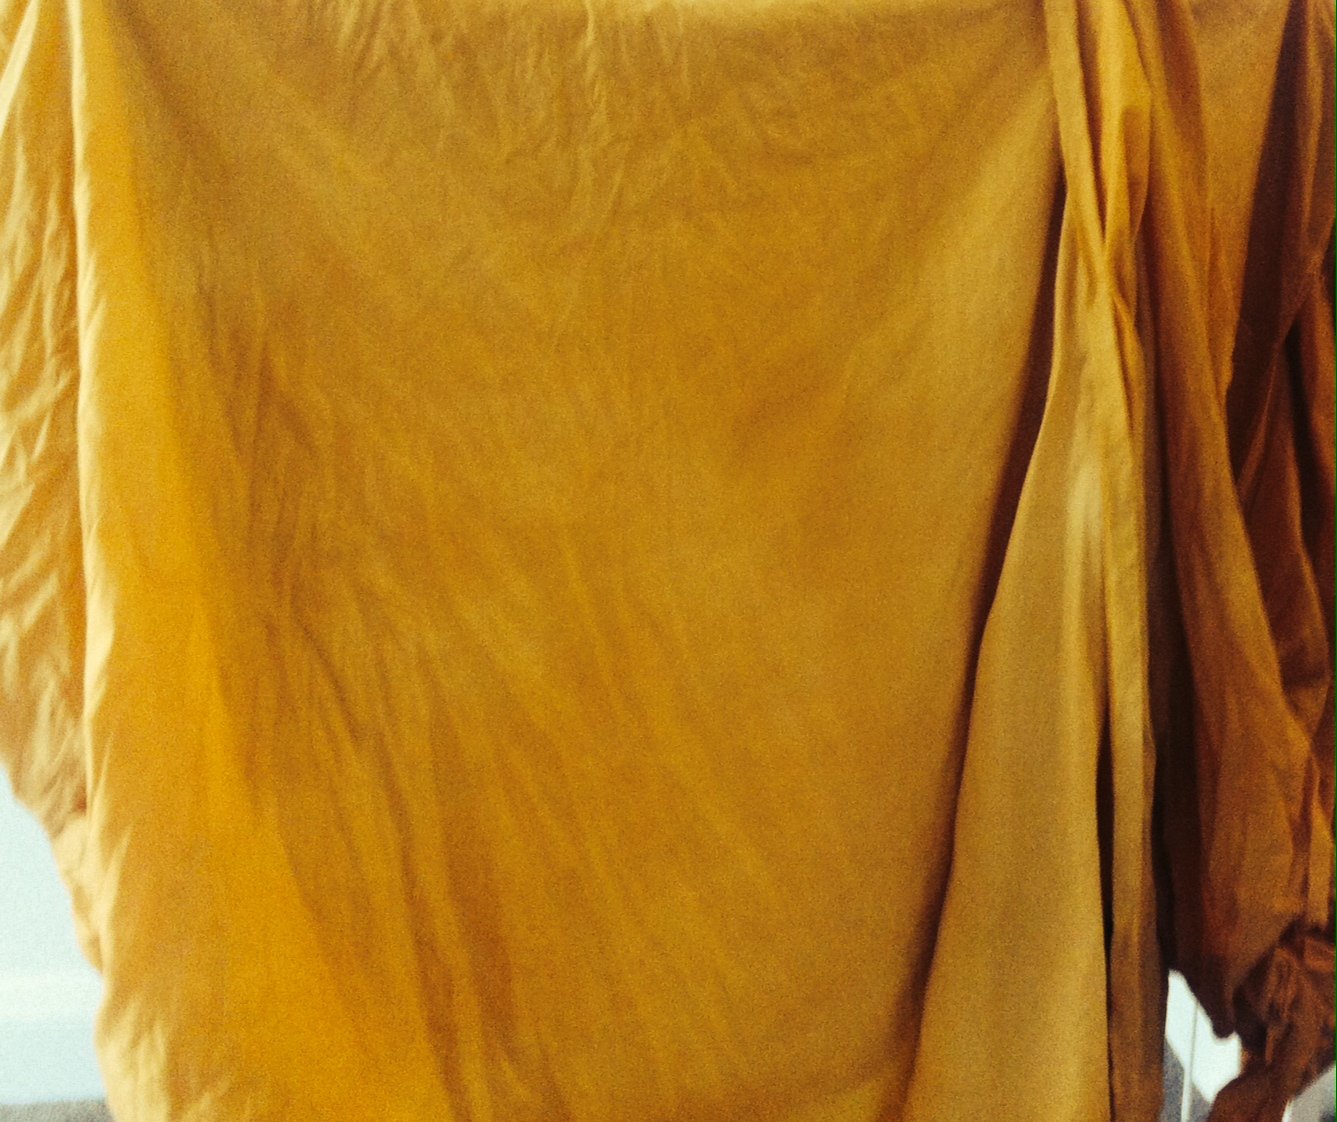
 And here it is with the side seams sewn together.

It looks insanely yellow in that shot courtesy of my iPhone. It’s not. It’s more creamy, almost like a mustard.
The entire robe is french seamed throughout. I like making things super neat and tidy inside and mathematically working out the best way to do that.
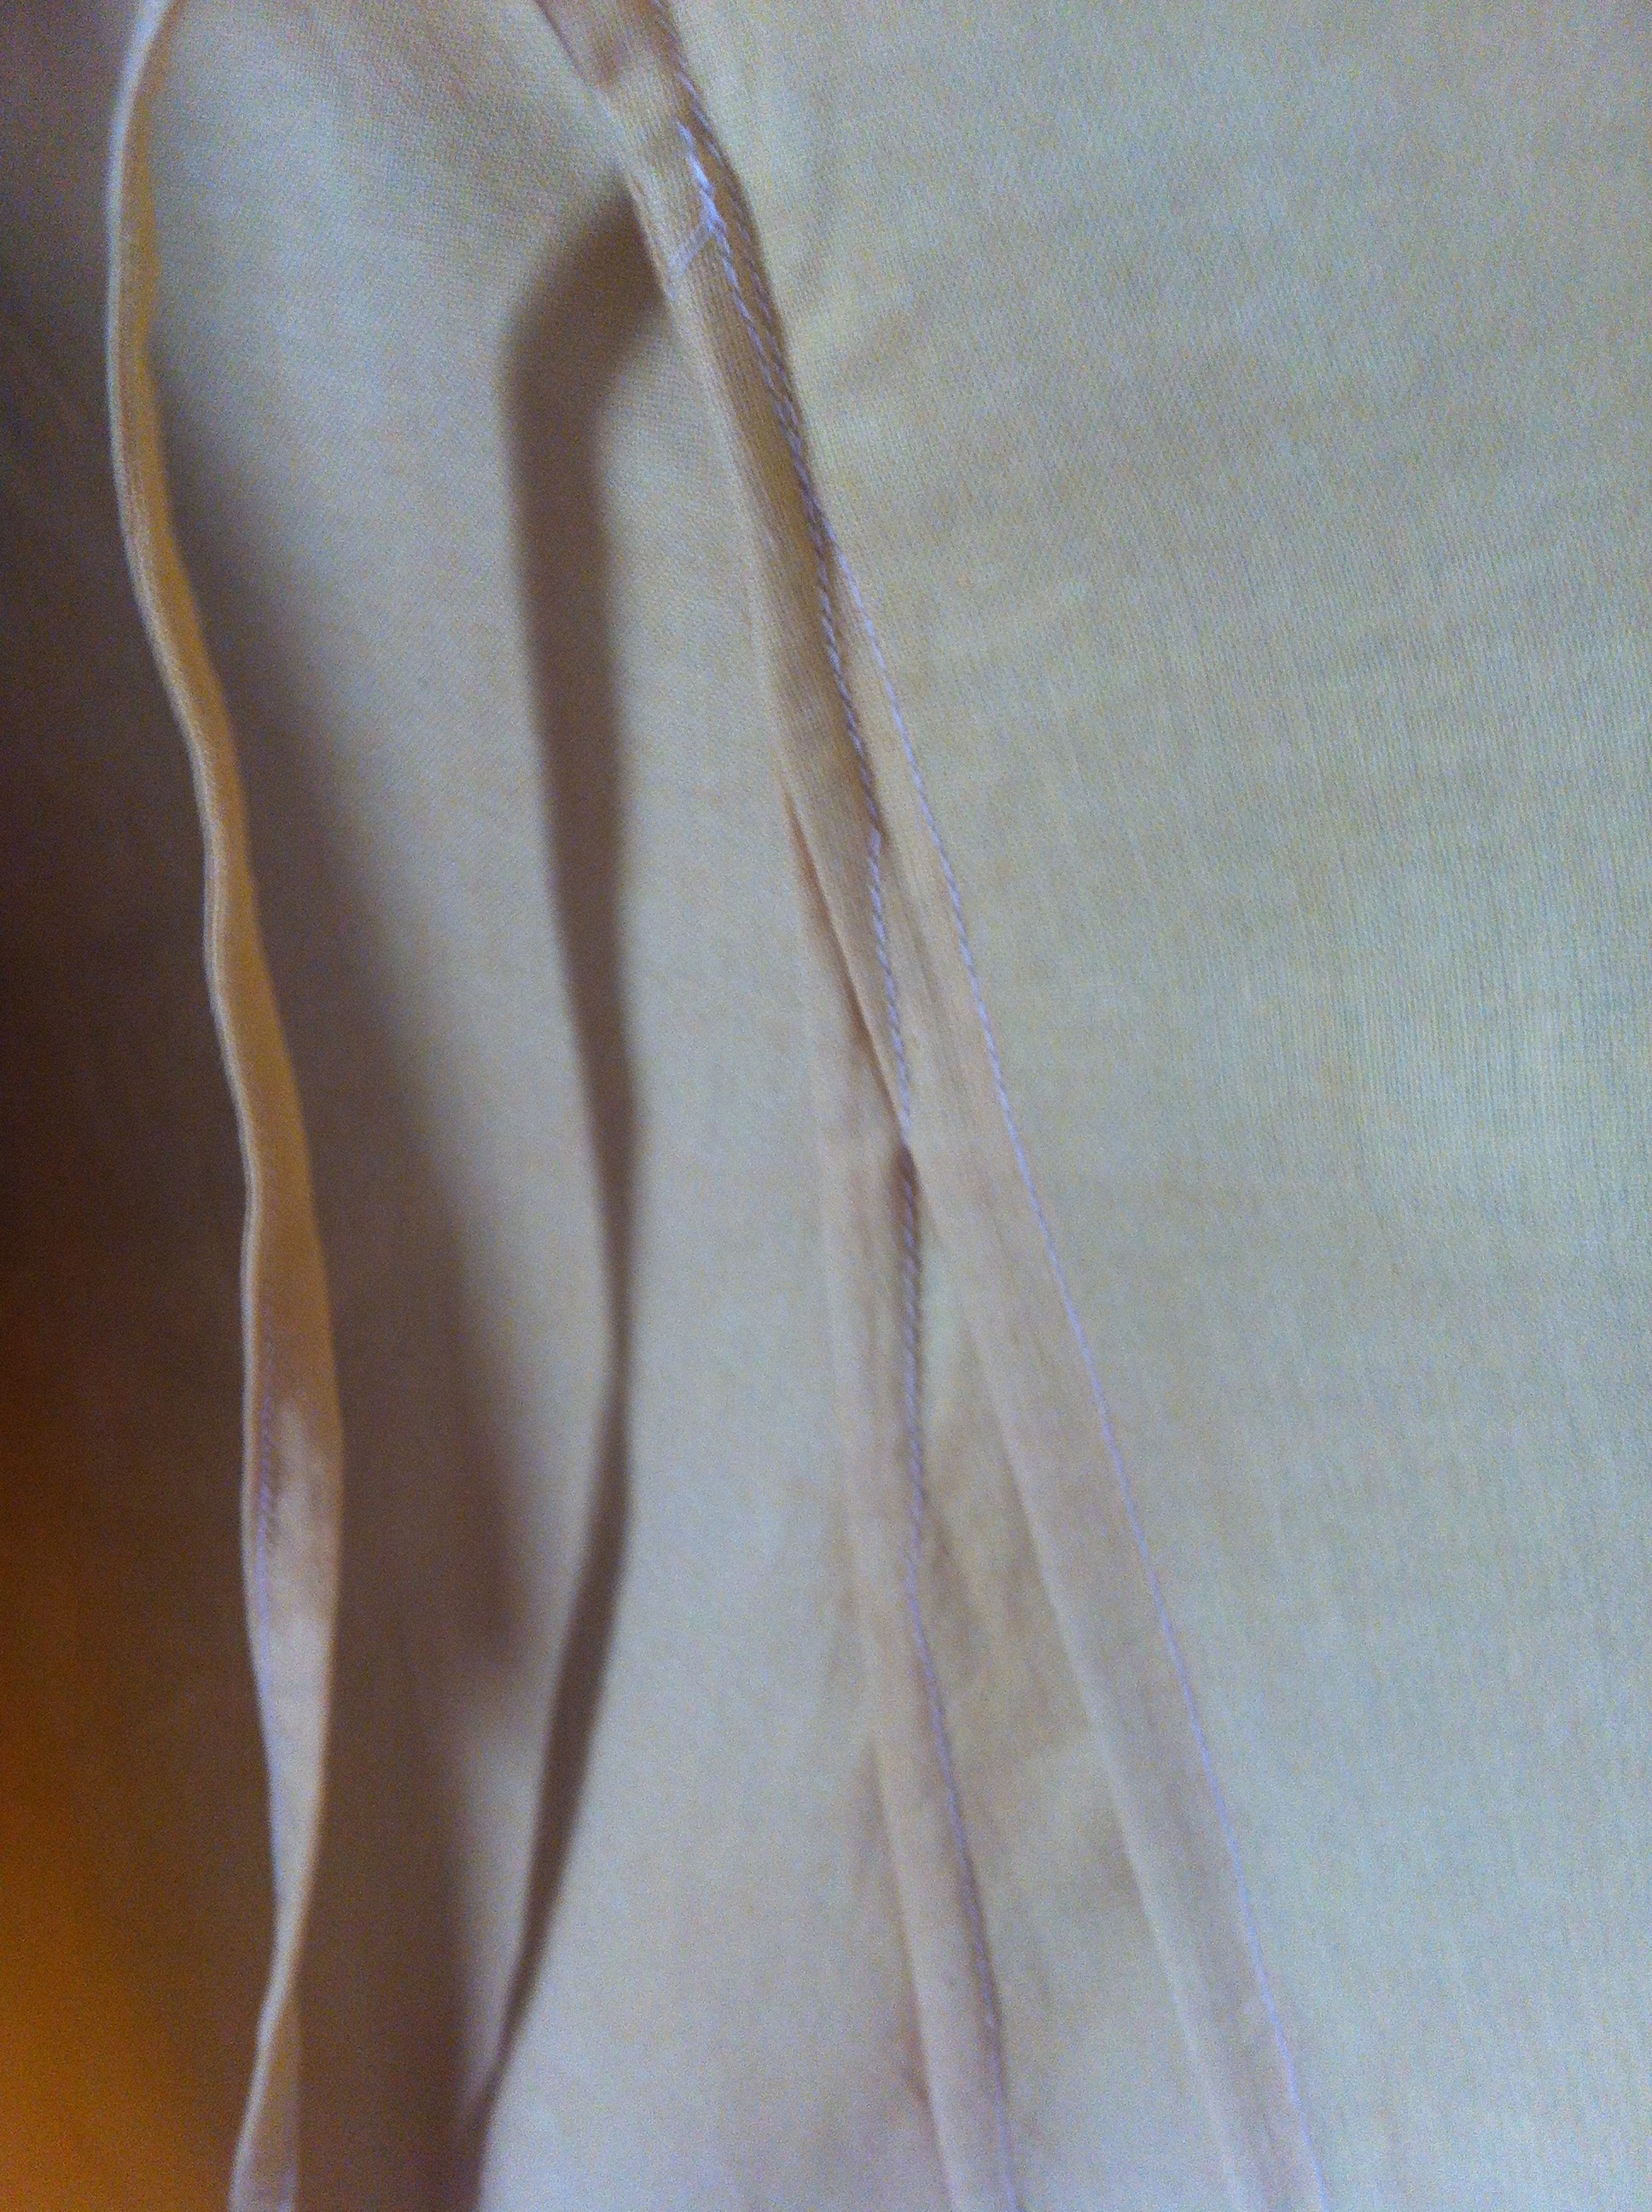
Here’s the outside of one of the gores:
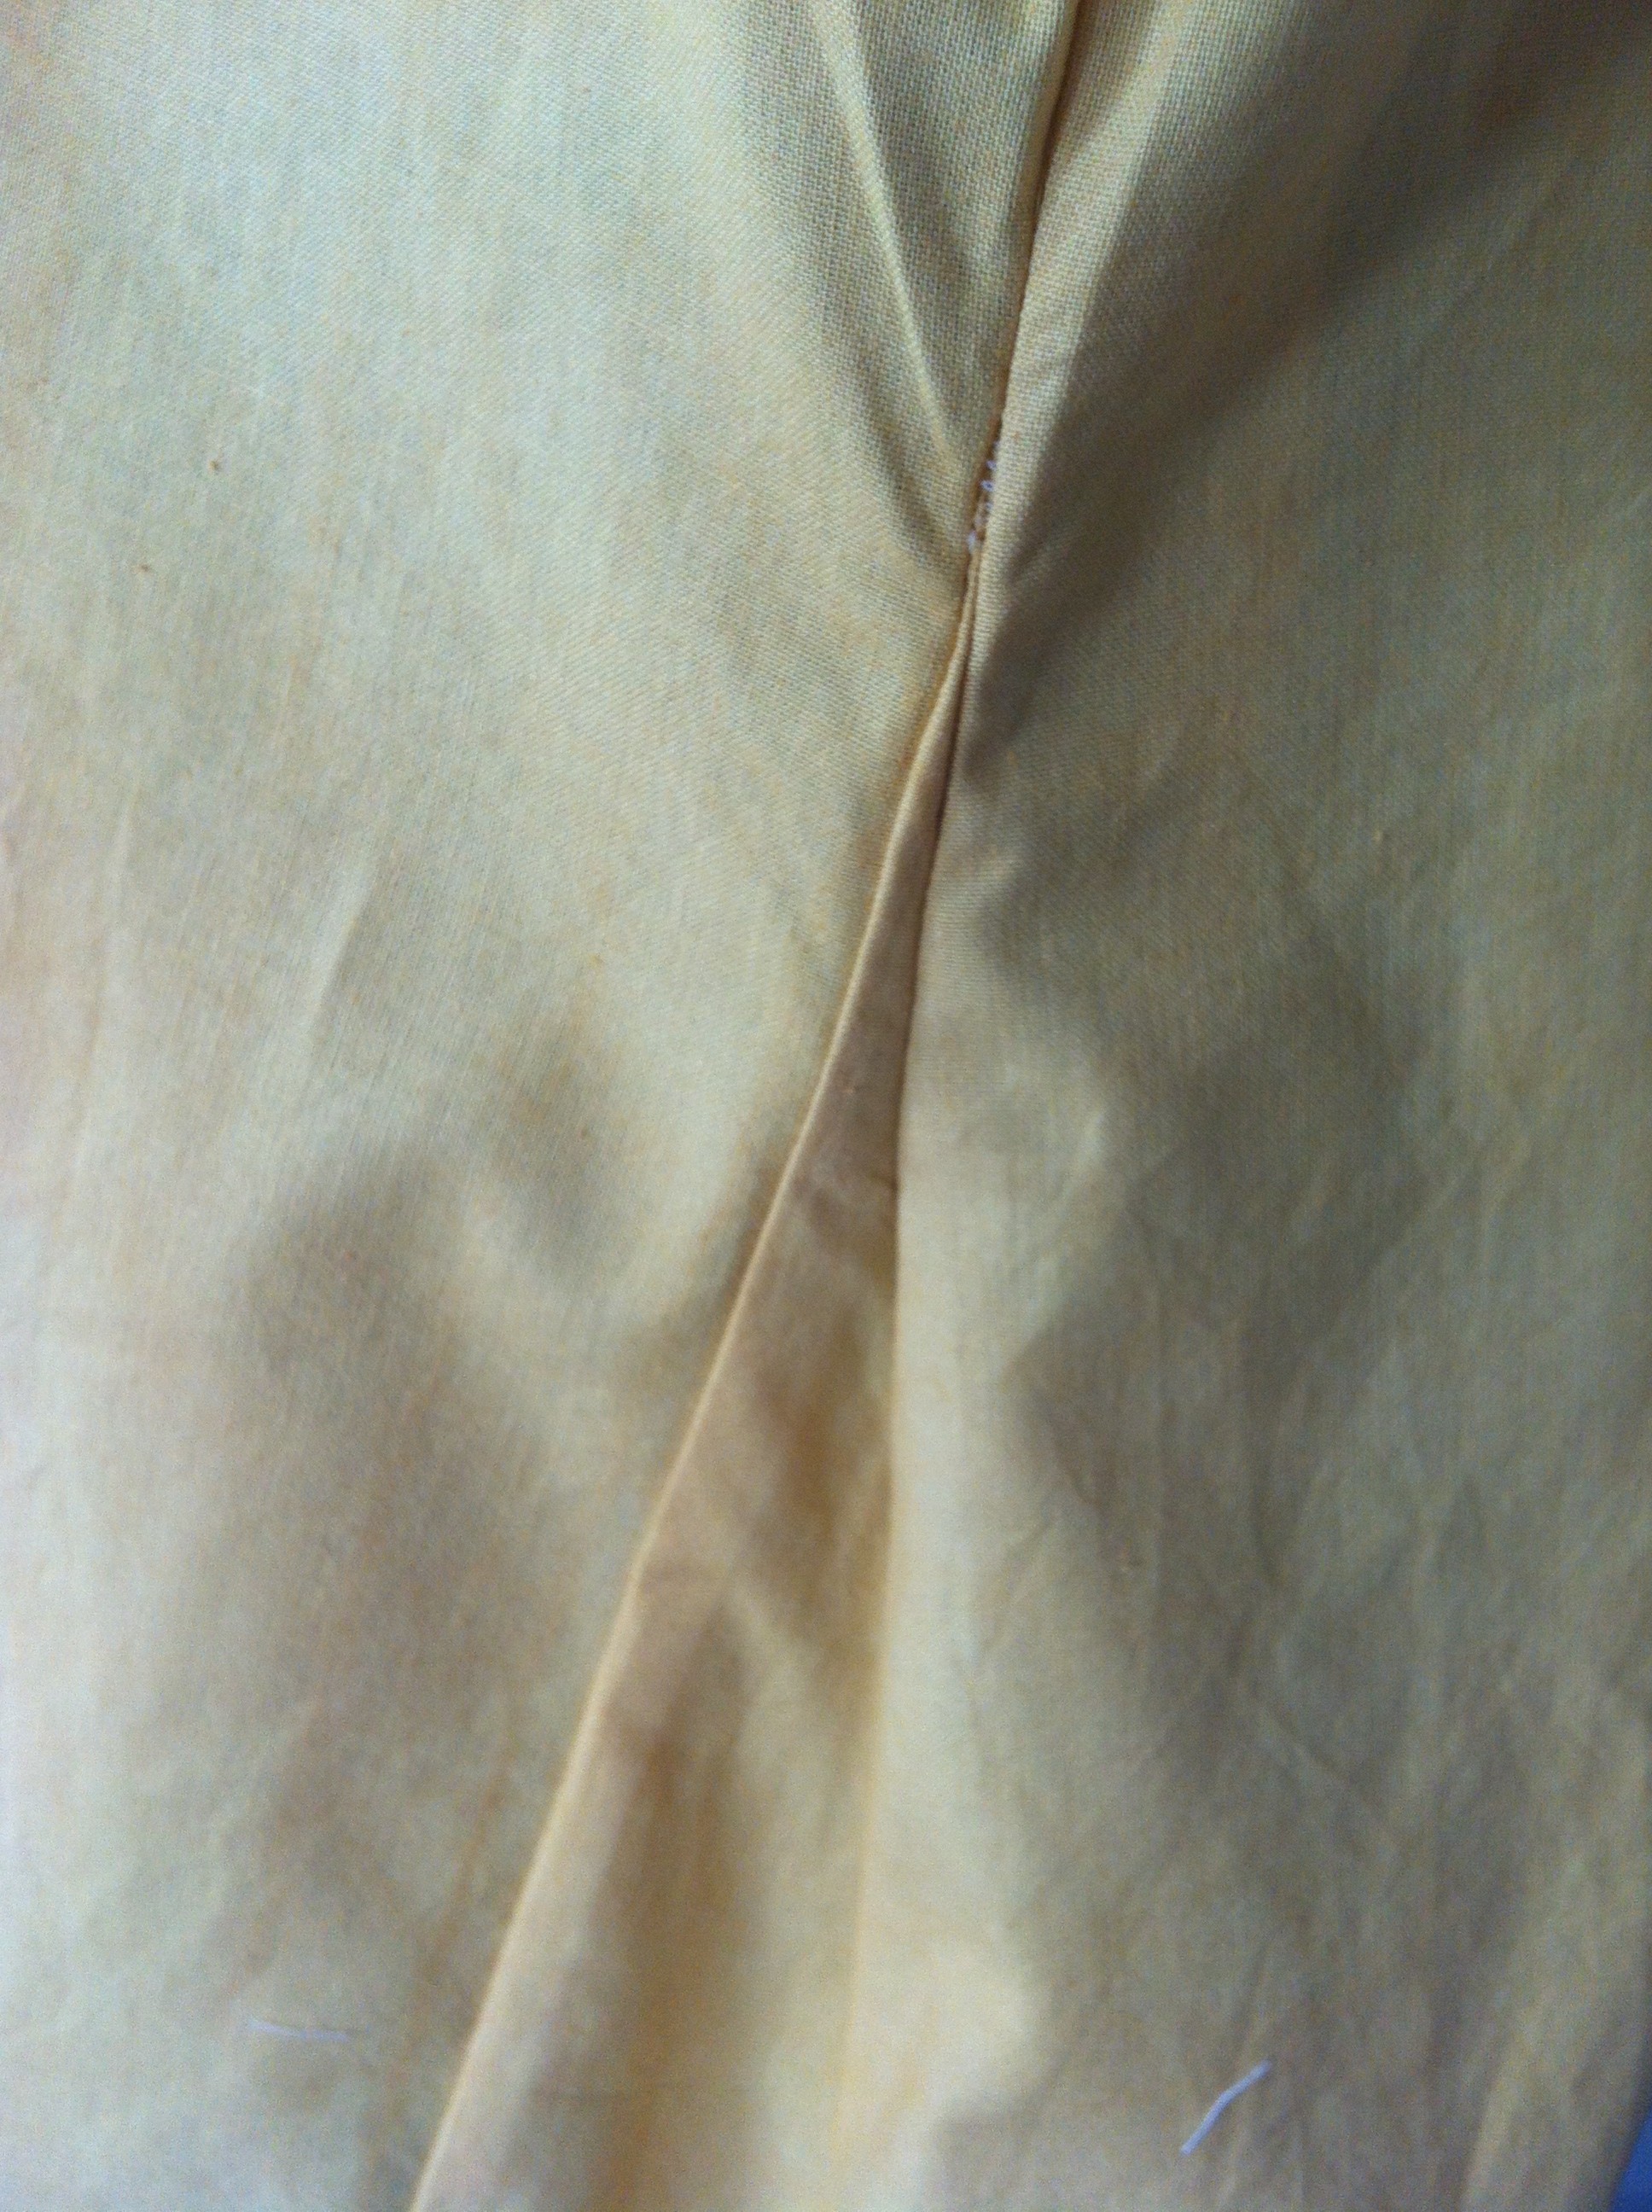
And the inside, where you can see the construction…
I’m pretty pleased with myself. Terrible pictures though.