Home
Blog
Feminism
Art
Making
Photography
LRP
Freelancing
Studying
Funding my PhD
Rants
Starting a Handmade Business
About Me
Explore
Haus Dashwood
Haus Dashwood
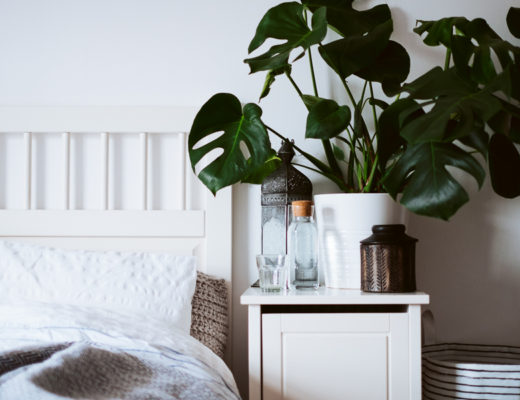
Creating a Luxurious Bedroom Space
Haus Dashwood
•
Photography
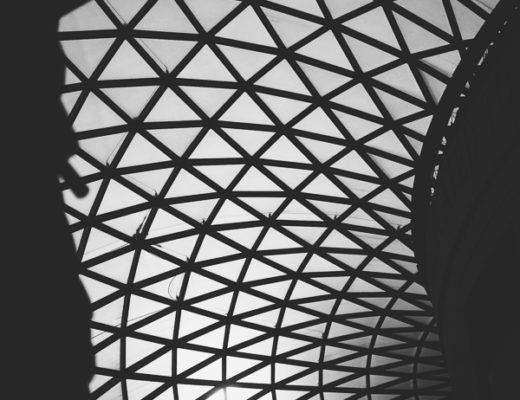
Glass roofs are a major part of my dream home
Haus Dashwood
•
Making
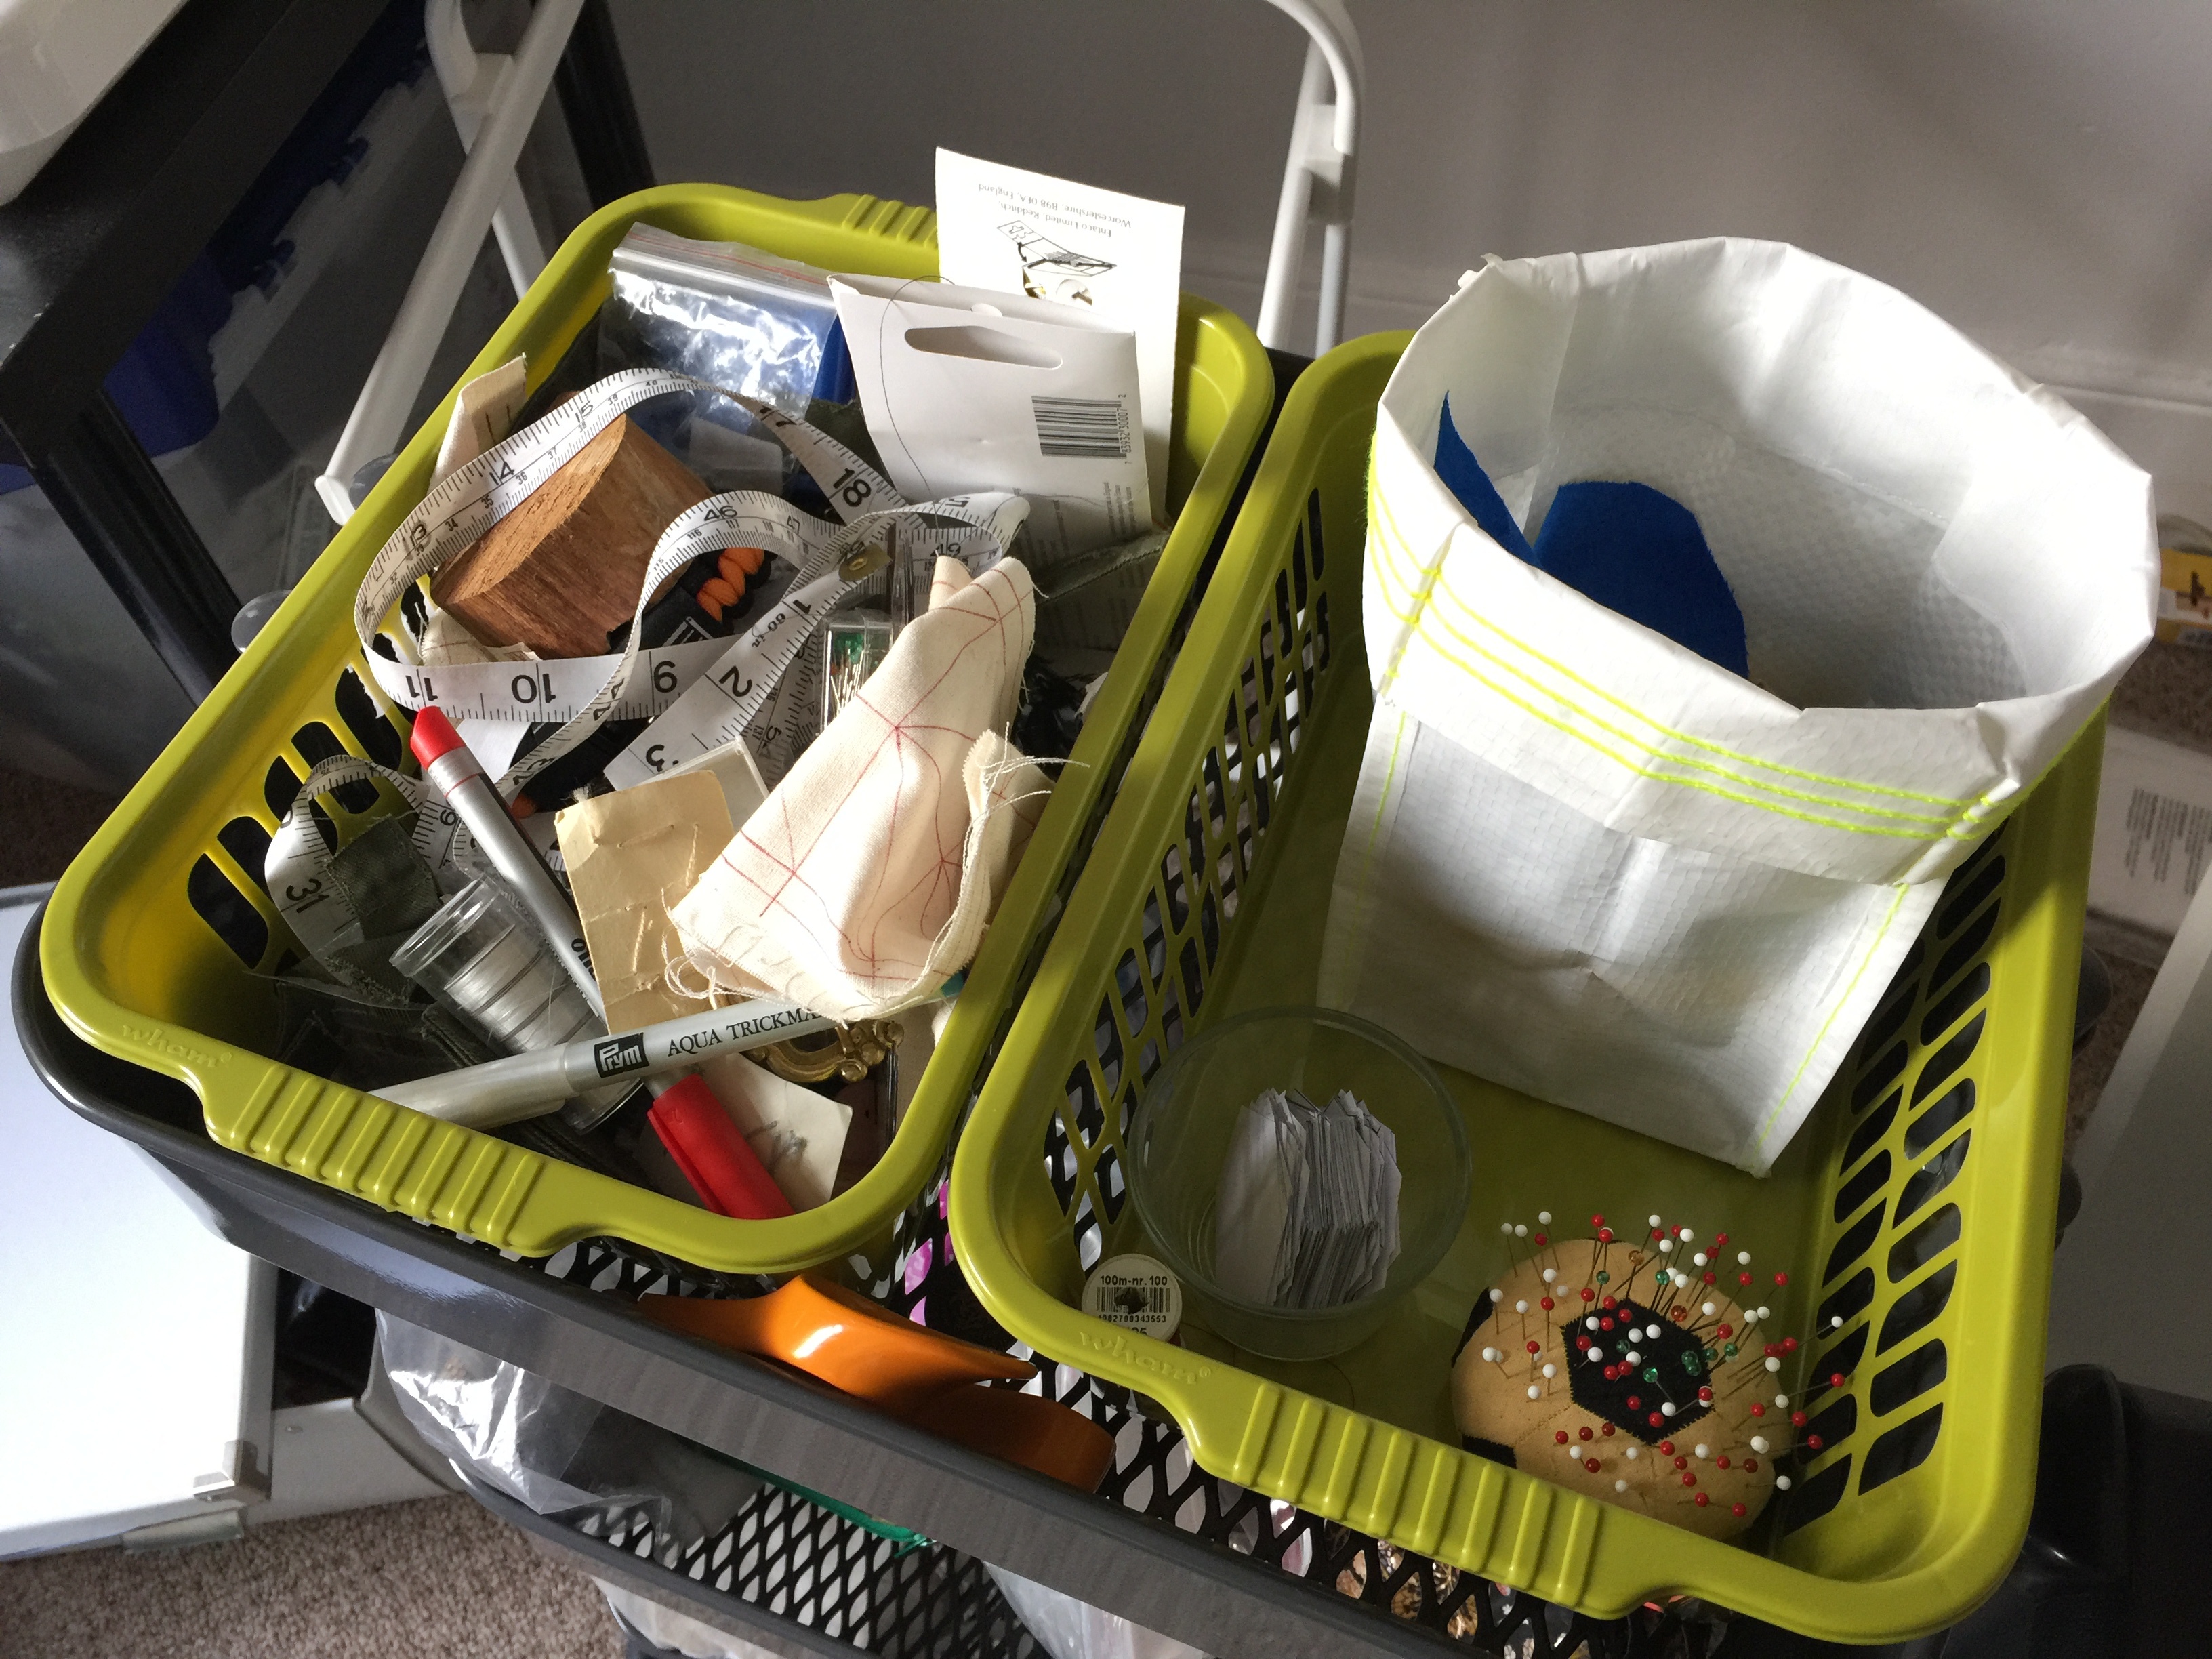
Tidying up the Sewing Room
Gardening
•
Haus Dashwood
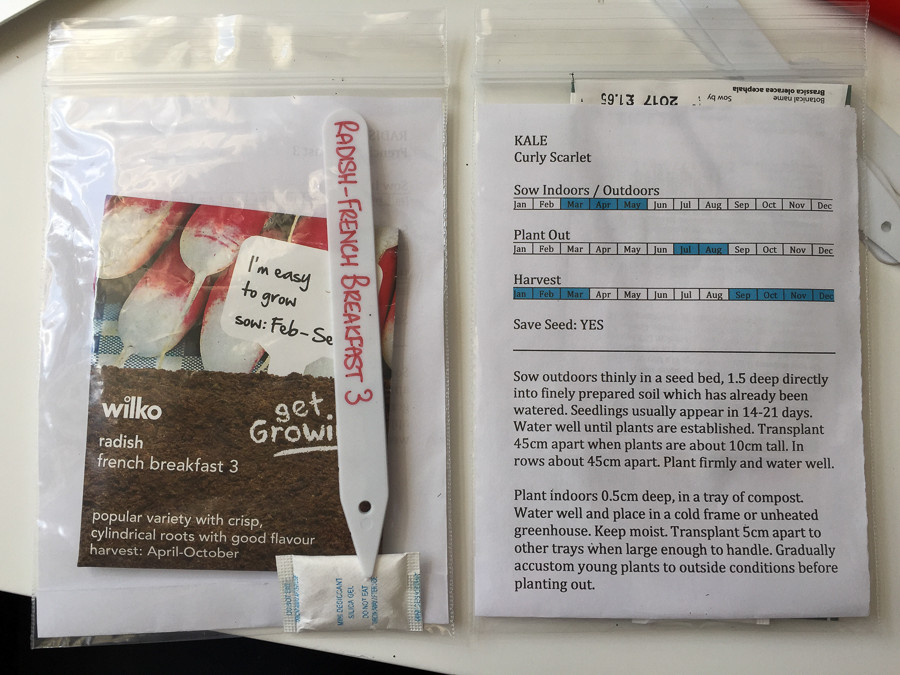
Storing and organizing seeds for the garden
Gardening
•
Haus Dashwood
The Tomato Problem
Gardening
•
Haus Dashwood
•
Making
Viola Syrup
Haus Dashwood
Lemon Salt
Haus Dashwood
Lemon Vodka
Haus Dashwood
Salt Preserved Limes
Haus Dashwood
•
Making
Salt Preserved Lemons
Older Posts