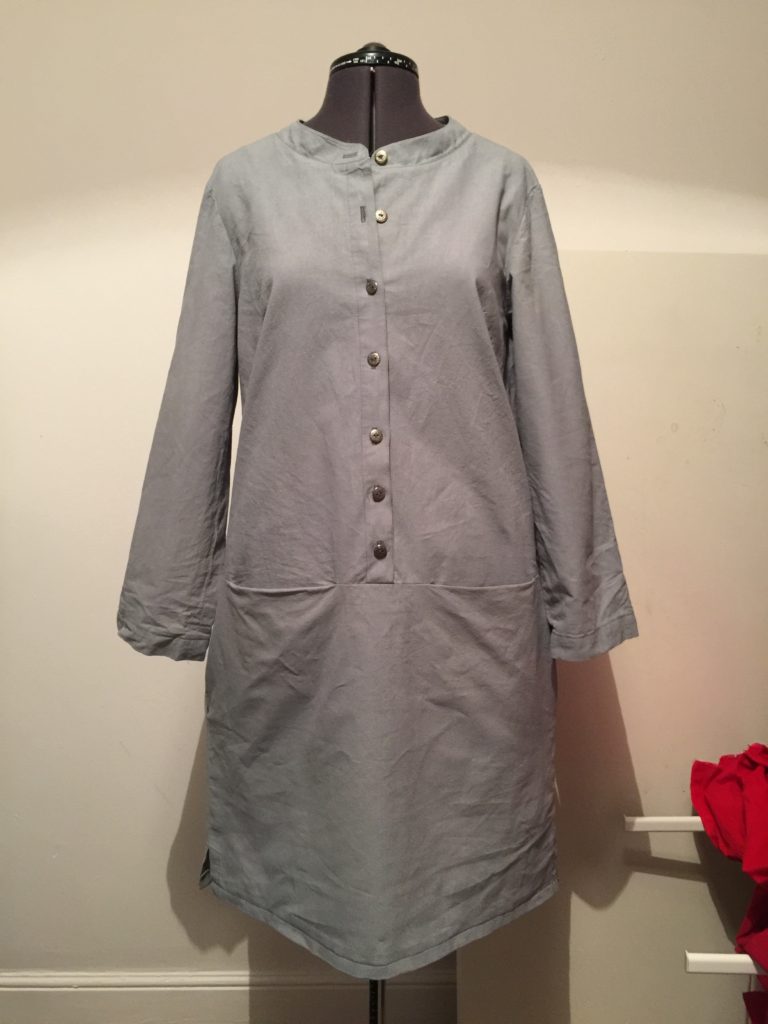
The second thing I’ve completed this year for the 52 Steps to Crafting challenge is The Union Dress from Merchant & Mills.
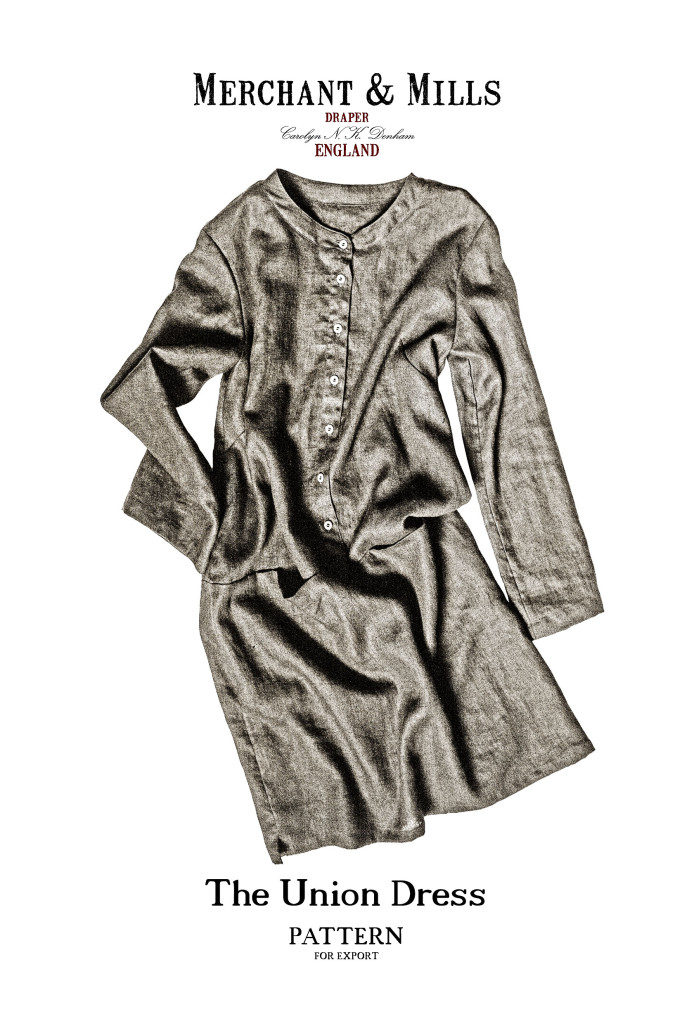
I hesitated before buying this pattern. It was quite expensive and I don’t wear dresses. But I wanted to see how the Henley style neck was drafted and how they’d done the pockets. So I ordered it.
Tuesday I sat down to look at the pattern properly and cut it out. ‘Holy Fuck’ I exclaimed as I took it out of the pack and started working out how to cut it out. This was a complicated pattern. I checked the front of the dress pattern envelope again ‘Intermediate’ it said. Hmmm, ok. I can do this. After all, I’ve been sewing for years.
So I cut everything out, then put it away. And I put a batch of £2 per meter Ikea Bomull fabric into a dye bath with some Dylon Antique Grey dye. So far, so good.
Yesterday I started sewing. There’s 72 steps to the instructions – cue another ‘Holy Shit’. But the one thing I learned was that the instructions Merchant & Mills provide with their patterns might be brief, but if you follow them to the letter and trust them then everything will be fine.
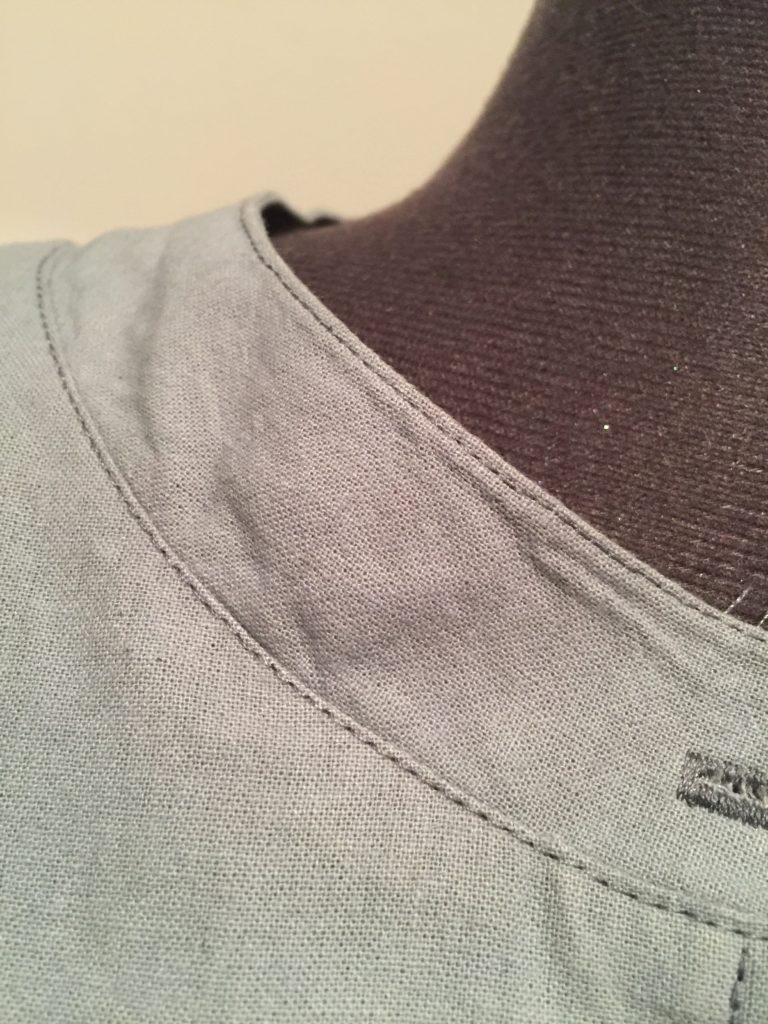
This is easily the most complicated thing I’ve ever made. It was hard. It required me to learn new skills as I went along. Edge stitching, insetting pockets with a couture finish, creating a collar, and setting in sleeves. I’ll tell you what – I took it slow and I’m dead impressed with what I managed. I have never made anything quite so neat in my life.
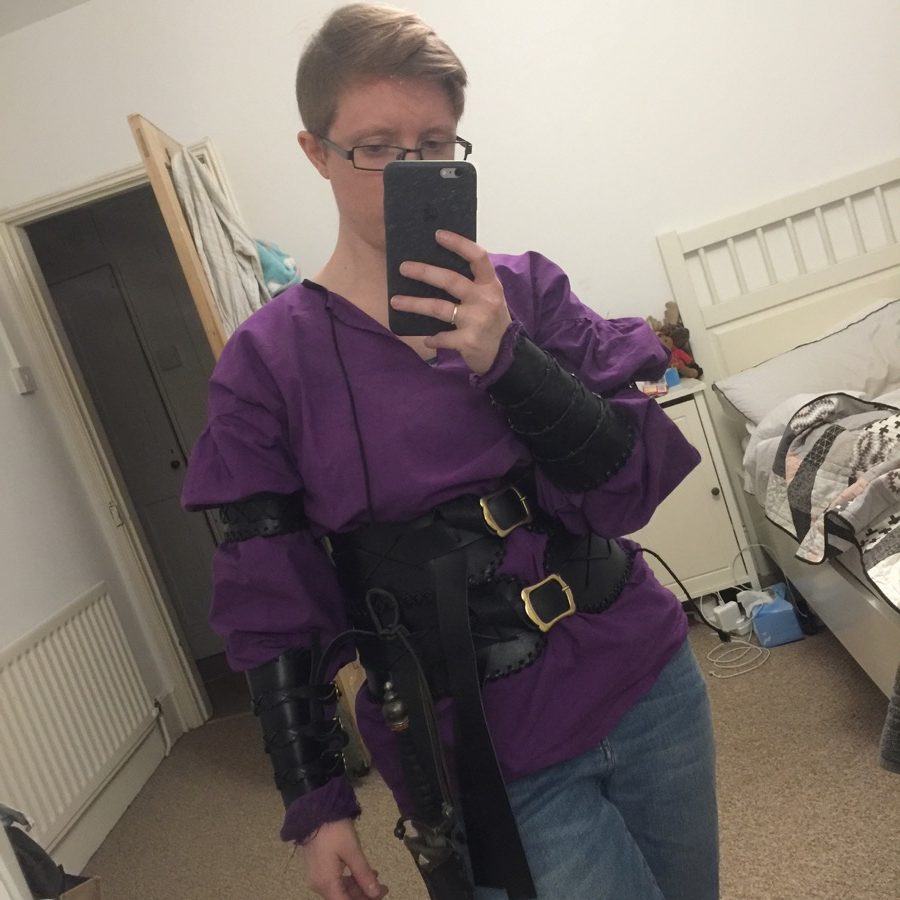
Check out the edge stitching:
It’s come out looking just like the pattern envelope – which is great. Unfortunately it’s a fraction too long in the body to be flattering. And I fucked up the button placement slightly. I’m still figuring what I want to do about the length of the body being too long. I’m unsure if I’ll just keep it as a ‘work’ dress to wear at home when I’m working in the studio and stuff – the four pockets are really useful for that. Or if I’ll sew it up slightly at the waist and lose the bottom button. We’ll see.
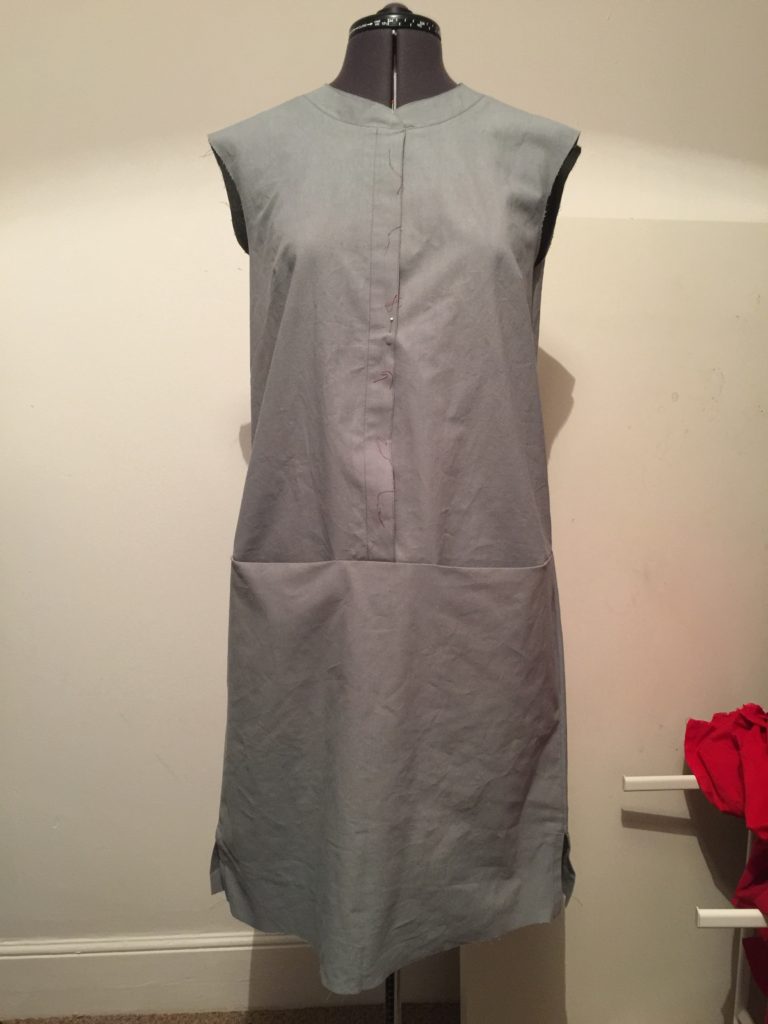
I might even redraft the pattern as a sleeveless version – doesn’t this mid-way photo look cute? I quite like the sci-fi look of not having buttons too. I might make a version with snaps instead of buttons. Very Hunger Games.
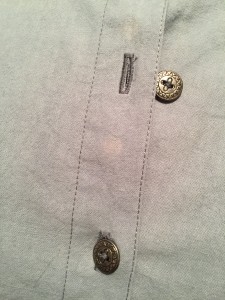 One disappointing thing did happen though – the blue ‘disappearing’ fabric marker I’ve been using for ages left a stain. It must have reacted somehow with the Dylon dye I had used. Pencil or chalk next time I guess.
Oh well, not the end of the world. If I do manage to shorten the length of the bodice then I might dye it a slightly darker colour which should get rid of that slightly bleached mark. I’m sure it’ll be fine.
What making up this pattern has done though is given me massive faith in the high quality way that Merchant & Mills patterns are drafted. I mean seriously, this is the best pattern I’ve ever made. It just fitted together perfectly. The pattern was printed on high quality butchers paper too – none of this flimsy tissue paper crap.
So what I’m going to hopefully do is take the voucher Adam bought me for Christmas to Liberties and buy the Merchant & Mills Workbook. It contains six patterns to make a basic wardrobe. Apparently their trousers are very very good, and I’ve been looking for a pattern for men’s style slacks for a while.

So I hope in the future that there will be lots more Merchant & Mills makes in my 52 steps to crafting in 2016. I’ve certainly learned alot from making this pattern up, and I’m looking forwards to making adjustments to the pattern and making it up again in a nicer fabric. Perhaps a thick linen or a thin wool.